GitHub is the go-to platform for version control, collaboration, and open-source contributions. Whether you’re working on your own project or contributing to someone else’s, mastering the basics of forking, pulling, and pushing is essential. These core concepts allow developers to collaborate efficiently, manage project versions, and contribute to the open-source community.
In this article, we’ll walk through the process of forking a repository, making changes locally, and pushing those changes back to GitHub, all while using the pull request (PR) workflow.
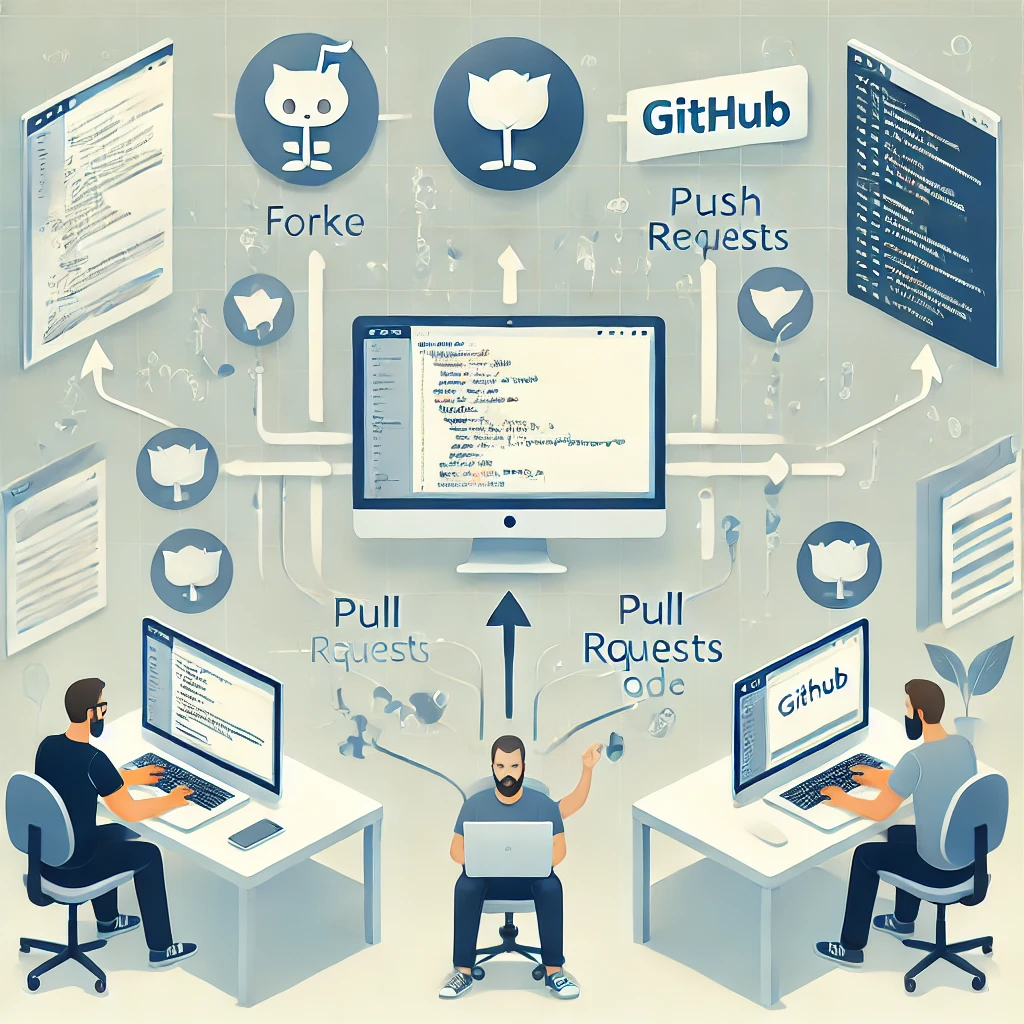
What Are Forking, Pulling, and Pushing?
Before diving into the guide, it’s important to understand these three terms:
- Forking: This is the process of creating a personal copy of someone else’s repository. Forking allows you to make changes to a project without affecting the original codebase.
- Pulling: This involves retrieving updates from the original repository (or a remote branch) into your local codebase to ensure you’re working with the latest version.
- Pushing: Once you’ve made changes to your fork, pushing refers to sending those changes to your remote forked repository on GitHub.
Together, these steps form the basic workflow for contributing to a GitHub project.
Step 1: Forking a Repository
Why Fork a Repository?
Forking a repository is useful when you want to:
- Contribute to an open-source project.
- Experiment with the codebase before submitting your changes.
- Create your version of a project that you don’t own.
How to Fork a Repository:
- Find the repository you want to fork on GitHub.
- In the top-right corner, click the “Fork” button. GitHub will create a copy of the original repository in your GitHub account.
- You now have a forked version of the project that you can modify without affecting the original repository.
Step 2: Cloning Your Fork Locally
Now that you’ve forked the repository, you need to clone it to your local machine to make changes.
- Navigate to your forked repository on GitHub.
- Click the “Code” button and copy the HTTPS URL.
- Open your terminal or command prompt and run the following command:
git clone <your-forked-repository-URL>
This command will clone the repository to your local machine.
- Change to the repository directory:
cd <repository-name>
Step 3: Making Changes Locally
Now that you have the project on your machine, you can start making changes.
- Create a new branch: It’s best practice to make changes on a separate branch, especially when contributing to a shared project. To create and switch to a new branch, run:
git checkout -b <new-branch-name>
Replace `<new-branch-name>` with a descriptive name for your changes.

2. **Make your changes**: Edit files, add new features, or fix bugs in your local environment.
3. **Check the status** of your changes by running:
   ```bash
   git status
This command shows which files have been modified. 4. Stage your changes for commit by running:
git add <file-name>
Or, to add all changed files:
git add .
Step 4: Committing Your Changes
After making changes and staging them, the next step is to commit those changes locally.
- Run the following command to commit the changes:
git commit -m "Your detailed commit message"
Replace the placeholder text with a meaningful description of the changes you made.

## Step 5: Pushing Your Changes to GitHub

Now that you’ve committed the changes locally, you need to push them to your forked repository on GitHub.

1. To push your branch to GitHub, run:
   ```bash
   git push origin <new-branch-name>
This command pushes your changes to your forked repository under the new branch you created. 2. After the push is complete, GitHub will display a link in your repository where you can open a Pull Request (PR).
Step 6: Creating a Pull Request (PR)
A pull request is the process of notifying the original repository’s maintainers that you’ve made changes and want them to review and potentially merge those changes into the main project.
- Go to your forked repository on GitHub.
- You’ll see a message prompting you to create a pull request for the branch you just pushed. Click the “Compare & pull request” button.
- In the pull request form:
- Write a title and description of your changes.
- Include any necessary context to help the maintainers understand what your PR addresses.
- Submit the pull request by clicking “Create pull request.”
Step 7: Updating Your Fork with New Changes
Over time, the original repository may receive new commits. It’s important to keep your fork up to date with these changes.
Syncing Your Fork:
- Add the original repository as a remote in your local repository:
git remote add upstream <original-repository-URL>
2. **Fetch the latest changes** from the original repository:
   ```bash
   git fetch upstream
- Merge the changes into your local fork:
git merge upstream/main
Replace `main` with the correct branch name if the project uses a different default branch (e.g., `master`).

4. **Push the updated changes** to your forked repository on GitHub:
   ```bash
   git push origin main
Conclusion
Forking, pulling, and pushing are fundamental GitHub concepts that allow developers to contribute to projects in an organised and efficient way. By following this guide, you’ll have the necessary skills to fork repositories, make changes locally, and submit pull requests to contribute to open-source projects or collaborate on private repositories.
The more you practice this workflow, the more seamless it becomes, making you a more effective and confident contributor to any GitHub project.